
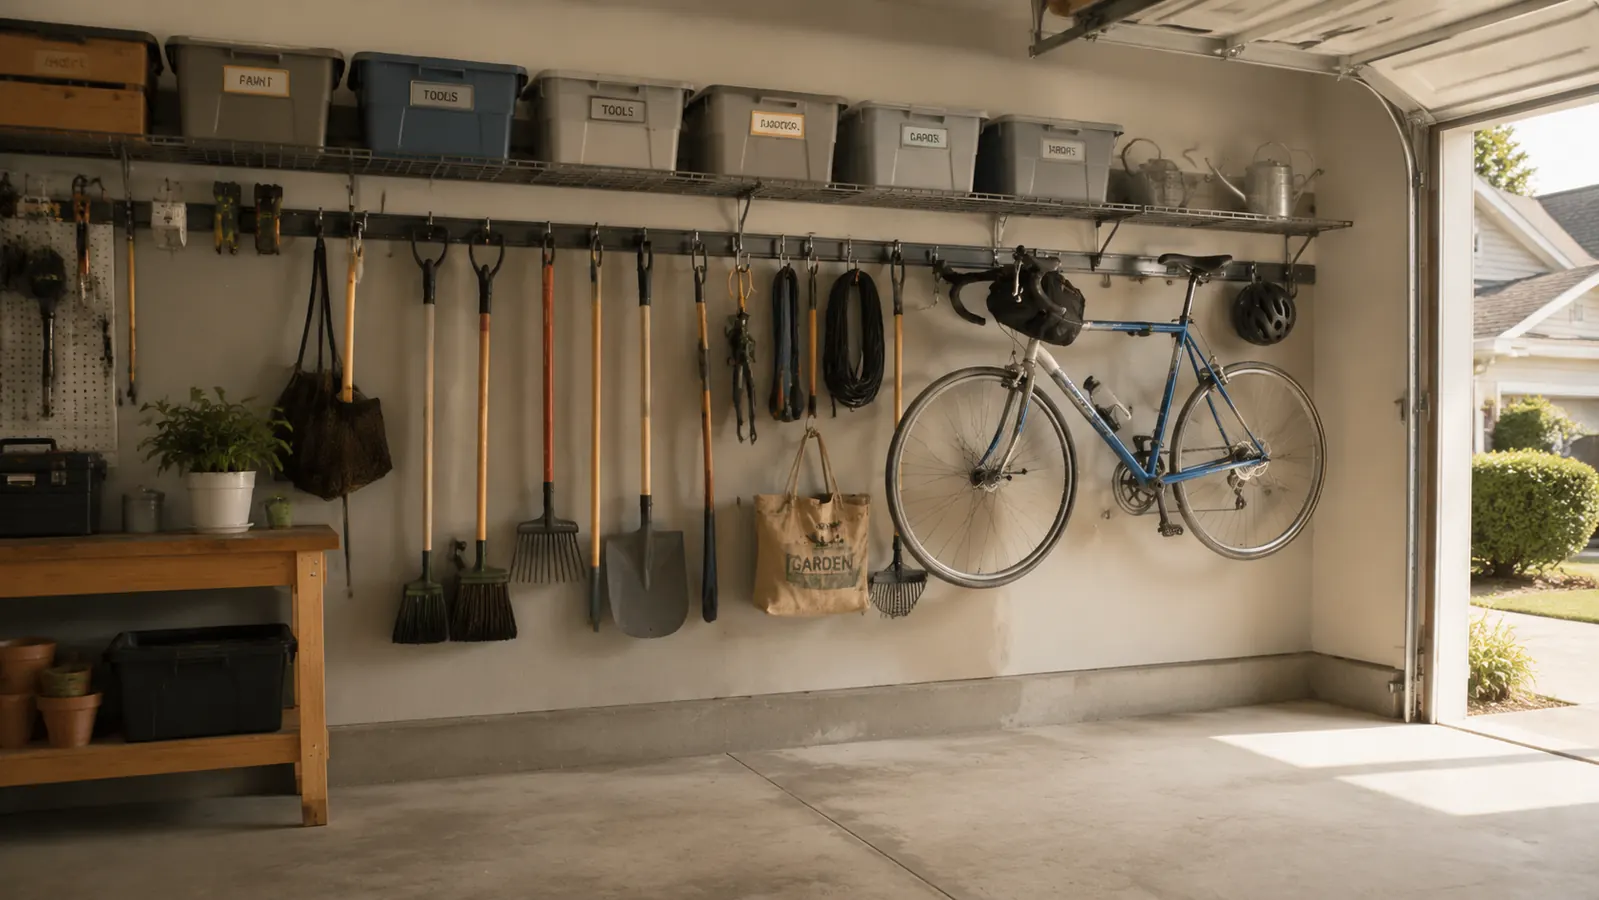
My garage used to be where things went to get lost. Rakes leaning against the wall until they fell on the car. A bike propped against the lawnmower. Bins stacked three high that I had to unstack to find the one on the bottom. I am a professional home organizer, and I am not above admitting that my own garage was the last room I got around to fixing. When I finally installed a wall rail system, I did it in one Saturday afternoon and spent the next week annoying my family by saying 'look at how much floor space we have now.'
A rail-based garage wall system is the single most efficient use of vertical space in any garage. Unlike pegboards that warp and hooks that pull out of drywall, a well-installed rail system is rated for serious weight and stays put for years. The Rubbermaid FastTrack 15-piece kit (4 rails, 11 hooks) is the system I recommend most often for a standard one-car or two-car garage wall because the hardware is solid, the hook variety covers most storage needs, and the installation is genuinely straightforward once you understand the three rules: find the studs, respect the weight limits, and plan your zones before you drill a single hole.
Your garage floor is not storage space. Fix it this weekend.
The Rubbermaid FastTrack 15-Piece Kit includes 4 rails and 11 hooks, rated 4.8 stars by over 1,600 buyers. Everything you need to clear the floor is in one box.
Amazon Check Today's Price on Amazon →What You Will Need Before You Start
Before you open the FastTrack box, gather your tools. You need a stud finder, a drill with a Phillips bit, a level (a 4-foot level makes this much easier than a small torpedo level), a tape measure, a pencil, and blue painter's tape for marking. That is it. The kit includes the mounting hardware, so you are not making a separate hardware store run.
One thing worth doing the night before: walk the wall you plan to use and roughly sketch out what you want to store there. Categories help here more than a specific layout does. Group by frequency of use (daily grab items near waist height, seasonal items up high), by weight (heavier items lower to the wall for better leverage), and by size (bikes need a specific hook type and more clearance). A five-minute rough sketch saves you from repositioning rails after they are already drilled in.
Step 1: Find and Mark Every Stud on Your Target Wall
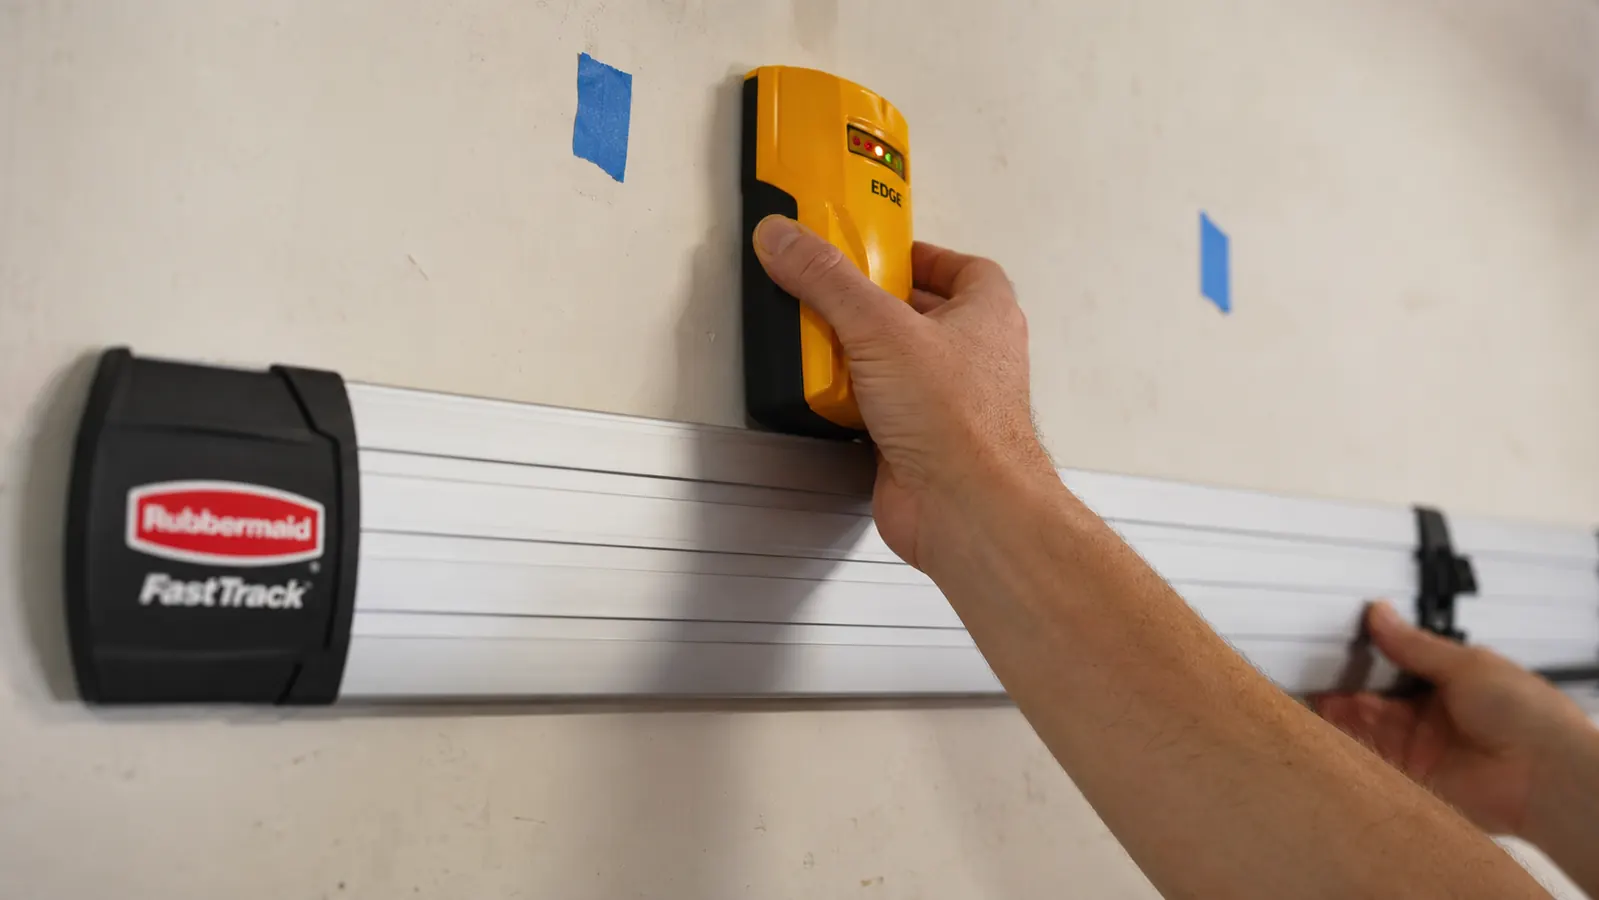
Rail systems fail when they are anchored into drywall instead of studs. Drywall anchors are not built for dynamic loads, and a loaded rail that pulls out of a wall is a safety problem, not just a mess. Run your stud finder slowly across the wall at about the height where your top rail will sit. Mark each stud edge with a small piece of painter's tape. In a standard wood-framed garage, studs are on 16-inch centers, but that is not guaranteed, especially in older homes or around garage door frames where framing gets irregular.
Once you have a row of tape marks at your target top-rail height, run the stud finder again at the height of your second, third, and fourth rail positions. This matters because the FastTrack rails are 48 inches wide and need to span at least two studs per rail for a solid mount. If your stud spacing does not line up cleanly with where you want a rail, shift the rail position slightly rather than trying to make a single-stud mount work. Mark your confirmed stud centers in pencil directly on the wall at each rail height. These pencil marks will be covered by the rail itself once it is installed.
Step 2: Plan Your Rail Heights Using the Three-Zone Method
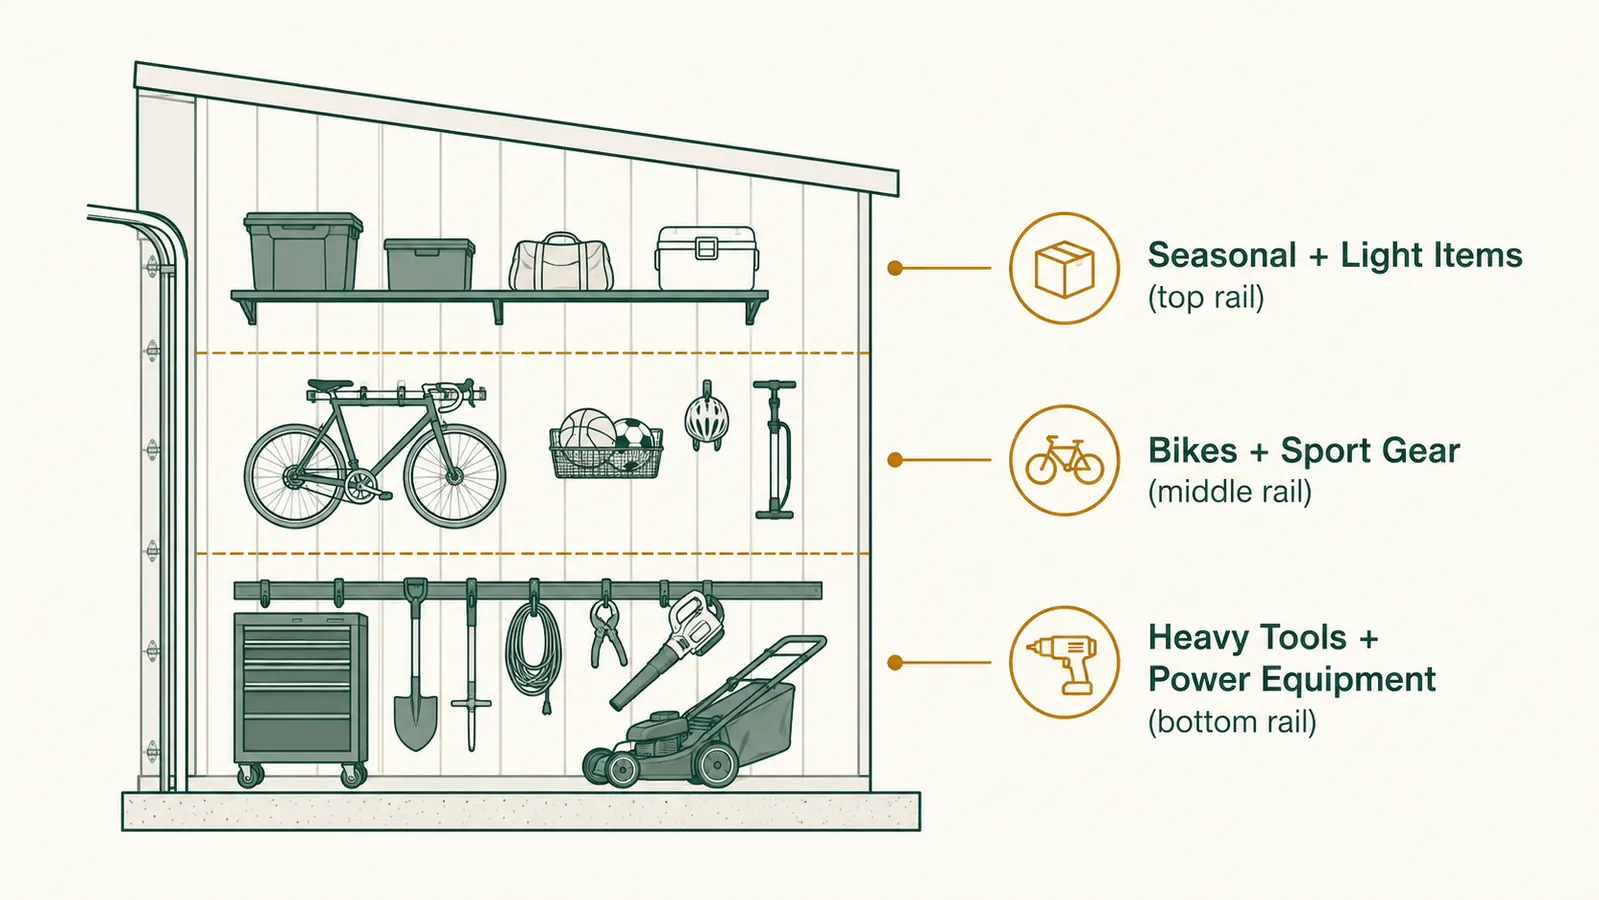
This is the step most people skip, and it is the one that makes the difference between a garage wall that works and one that looks organized but is frustrating to use. Divide your wall into three horizontal zones before you decide where to mount each rail.
The bottom zone runs from about 18 inches off the floor to about 48 inches. This is where your heavy items belong: power tools, a tool holder with hammers and wrenches, and anything with significant weight. Mounting a rail at about 36 inches in this zone puts the hooks at a comfortable reach-in height for heavy items. The middle zone, from 48 inches to roughly 72 inches, is your prime real estate. Bikes, sports equipment, and the things you grab at least once a week live here. A rail at 60 inches off the floor works well for most bike hook configurations. The top zone, above 72 inches, is for seasonal or light items you access a few times a year. Garden hose reels, holiday decoration bins, and camping gear all work here. A rail at 78 to 84 inches handles this zone well for an average garage ceiling height.
With the FastTrack 4-rail kit, you have enough rails to cover a 10-foot-wide wall completely, or to do a more targeted installation on a single 8-foot section. I generally recommend concentrating all four rails on one focused wall rather than spreading them thin. A dense, organized wall on one side of the garage is more useful than scattered rails on three walls.
A five-minute layout sketch before you drill saves you from moving rails after they are already in the wall. I have seen that particular afternoon happen more than once.
Step 3: Mount the First Rail Level and Plumb
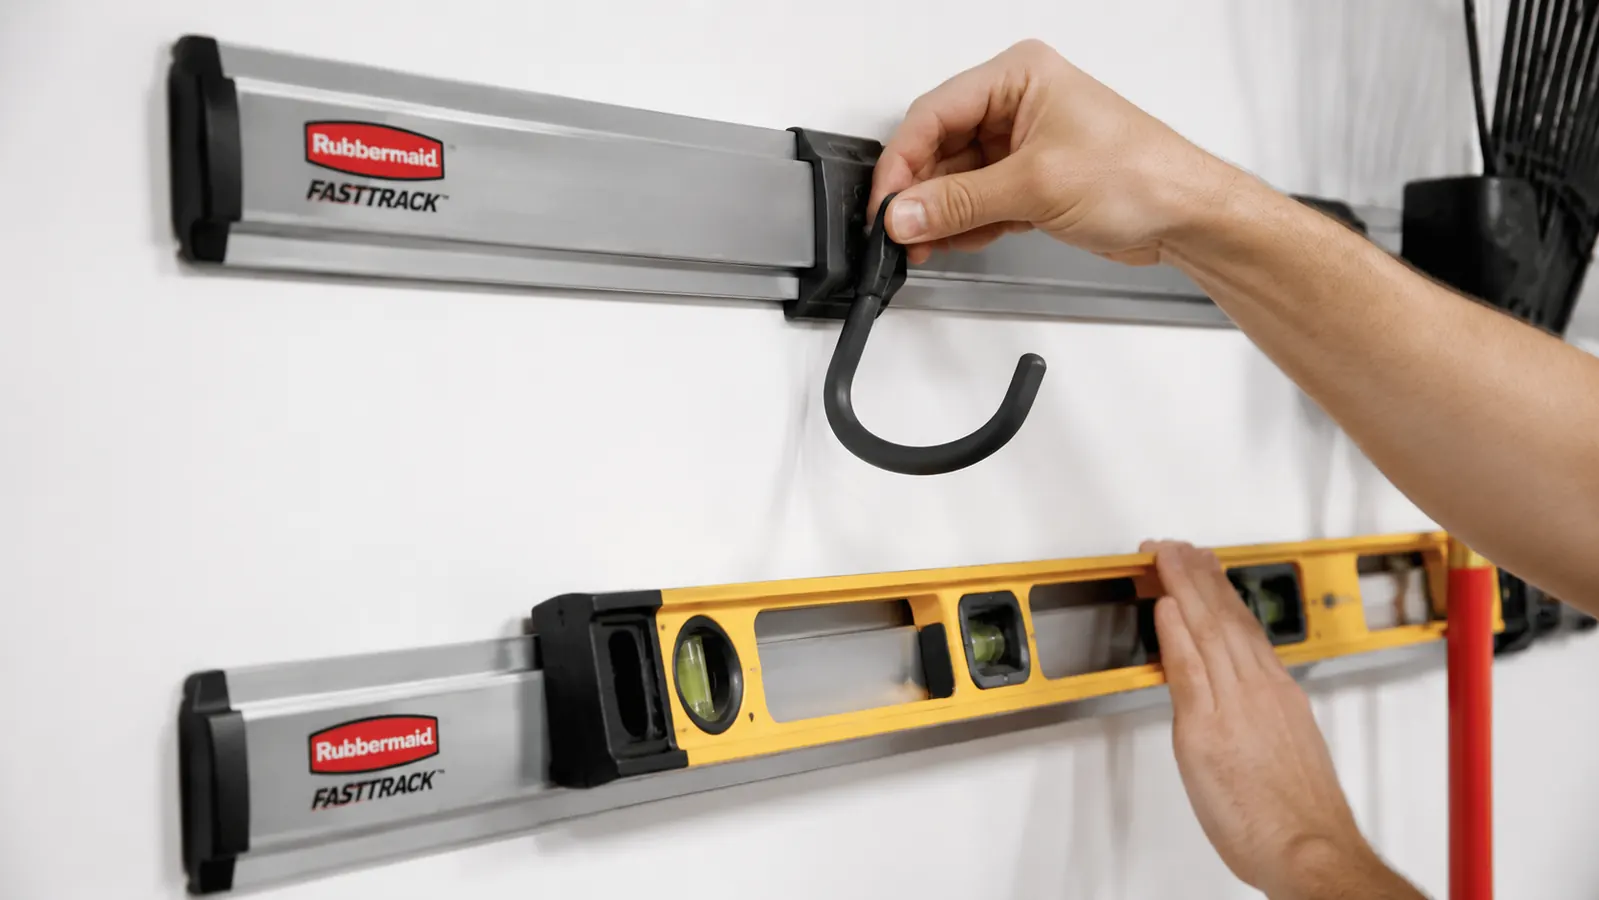
Start with the top rail. Hold it against the wall with a helper if possible, rest your level on top, and adjust until the bubble is centered. Mark both mounting hole positions through the rail onto the stud locations you penciled in. Set the rail down, and drill pilot holes at your marks using a bit slightly narrower than the included lag screws. Pilot holes are worth the 60 extra seconds they take. They prevent the wood from splitting and make driving the final screws much cleaner.
Hold the rail back up to the wall and drive the lag screws into the studs. Do not fully torque them down until both screws are started. Get both screws hand-tight first, then snug them down with the drill. Give the mounted rail a firm downward tug once it is fully seated. It should feel completely solid with no flex. If there is any movement, you may have missed the stud center. In that case, remove the rail, re-check your stud location, and remount. A slightly off-center pilot hole is not worth leaving in place.
Step 4: Space the Remaining Rails and Mount Them
With the first rail up, use your tape measure to mark the heights of your remaining three rails based on the zone plan you made in Step 2. Measure down from the top rail for consistency rather than up from the floor, since garage floors are not always perfectly level. Hold each subsequent rail in position, check level, mark the stud holes, drill pilots, and drive the lag screws. The process is identical for each rail. Budget about 15 minutes per rail once you have the routine down.
When all four rails are up, step back and look at the whole wall before you add a single hook. This is your last easy chance to adjust if something is noticeably off-level or if the spacing between rails does not feel right for the items you plan to hang. Moving an empty rail takes three minutes. Moving a fully loaded rail takes considerably longer.
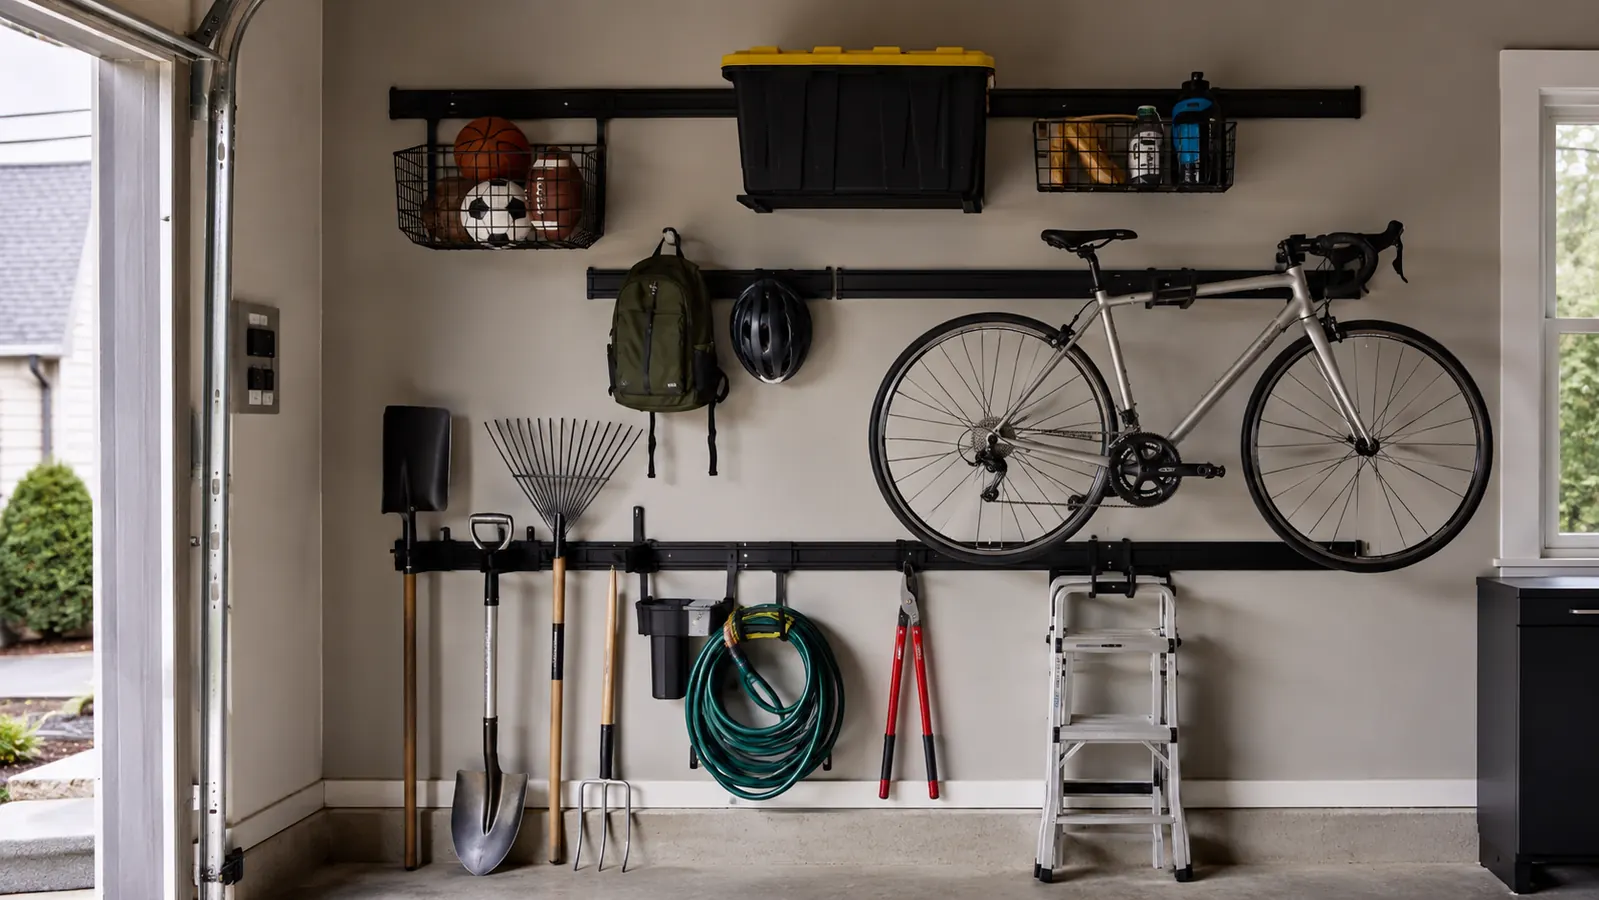
Step 5: Load Hooks by Weight and Access Frequency
The FastTrack hook system clicks into the rail channel and locks with a quarter-turn. It is genuinely satisfying hardware. But the flexibility to move hooks anywhere also means you need a loading strategy, or you end up with a random arrangement that looks organized but is not.
Start by placing all of your heavy-item hooks on the bottom and middle rails first. The 15-piece kit includes several hook types: J-hooks for hanging bikes and large tools, double hooks for garden tools, a utility hook for extension cords or hoses, and a large bin or basket that attaches directly to the rail. Group similar items together. All of your garden tools in one section, bikes in another, power tools in a third. Within each section, put the things you grab most often at the easiest-reach point of that section. Once your heavy and frequent items are placed, fill in the gaps with lighter or less-used items. The bin hook that comes with the kit is useful for loose small items: balls, dog leashes, spray bottles, anything that does not naturally hang on a single hook.
Do not load the top rail with anything over 30 to 40 pounds. Not because the rail itself cannot hold it, but because reaching above head height with heavy objects is an ergonomic and safety problem. Light seasonal bins, an extra extension cord, and folded tarps are the right neighbors for the top rail.
What Else Helps: Getting the Most from Your System
A few small additions make the wall work even better. Labeling hooks or rail sections with a label maker or a strip of masking tape and a marker is surprisingly useful, especially in households where multiple people are putting things away. When the bike hook section is labeled and the garden tool section is labeled, items actually go back where they belong. That is the whole game with home organization: making the right action slightly easier than the wrong one.
The FastTrack system is expandable. You can buy additional rails and hooks as your needs change without having to redo the whole wall. I have seen clients start with one rail to test it and end up with four rails spanning an entire garage wall within a year. If you are not sure how much of the wall to commit to, start with two rails in the highest-traffic zone, live with it for a month, and expand from there. The rails go up and come down cleanly without leaving major damage in the wall.
For garages with a lot of small loose items, add a simple shelf bracket or two between the lower rails to hold a bin or two for things like spray paint cans, small hand tools, and miscellaneous hardware. The FastTrack system does not include a shelf option in the base kit, but standard wood shelves can be bracketed to the studs between the rails without interfering with the rail system.
If you want a deeper read on how the FastTrack performs over time, including what the hooks look like after a year of regular use, see my full long-term review at the link below. And if you are trying to decide between the FastTrack system and a pegboard setup, I have a head-to-head comparison that covers price, weight capacity, hook flexibility, and which one I would put in my own garage today.
Worth reading: Rubbermaid FastTrack Review: What 12 Months of Daily Use Actually Teaches You and Rubbermaid FastTrack vs Wall Control Pegboard: Which Garage System Wins?
The goal is not a perfect garage. The goal is a garage where you can park the car, find the drill in under 30 seconds, and get the bike out without moving three other things first.
One afternoon of installation. Years of a floor you can actually use.
The Rubbermaid FastTrack 15-Piece Garage Wall-Mounted Storage Kit includes 4 rails and 11 hooks for a complete wall system. Rated 4.8 stars with over 1,600 verified buyers.
Amazon Check Today's Price on Amazon →