
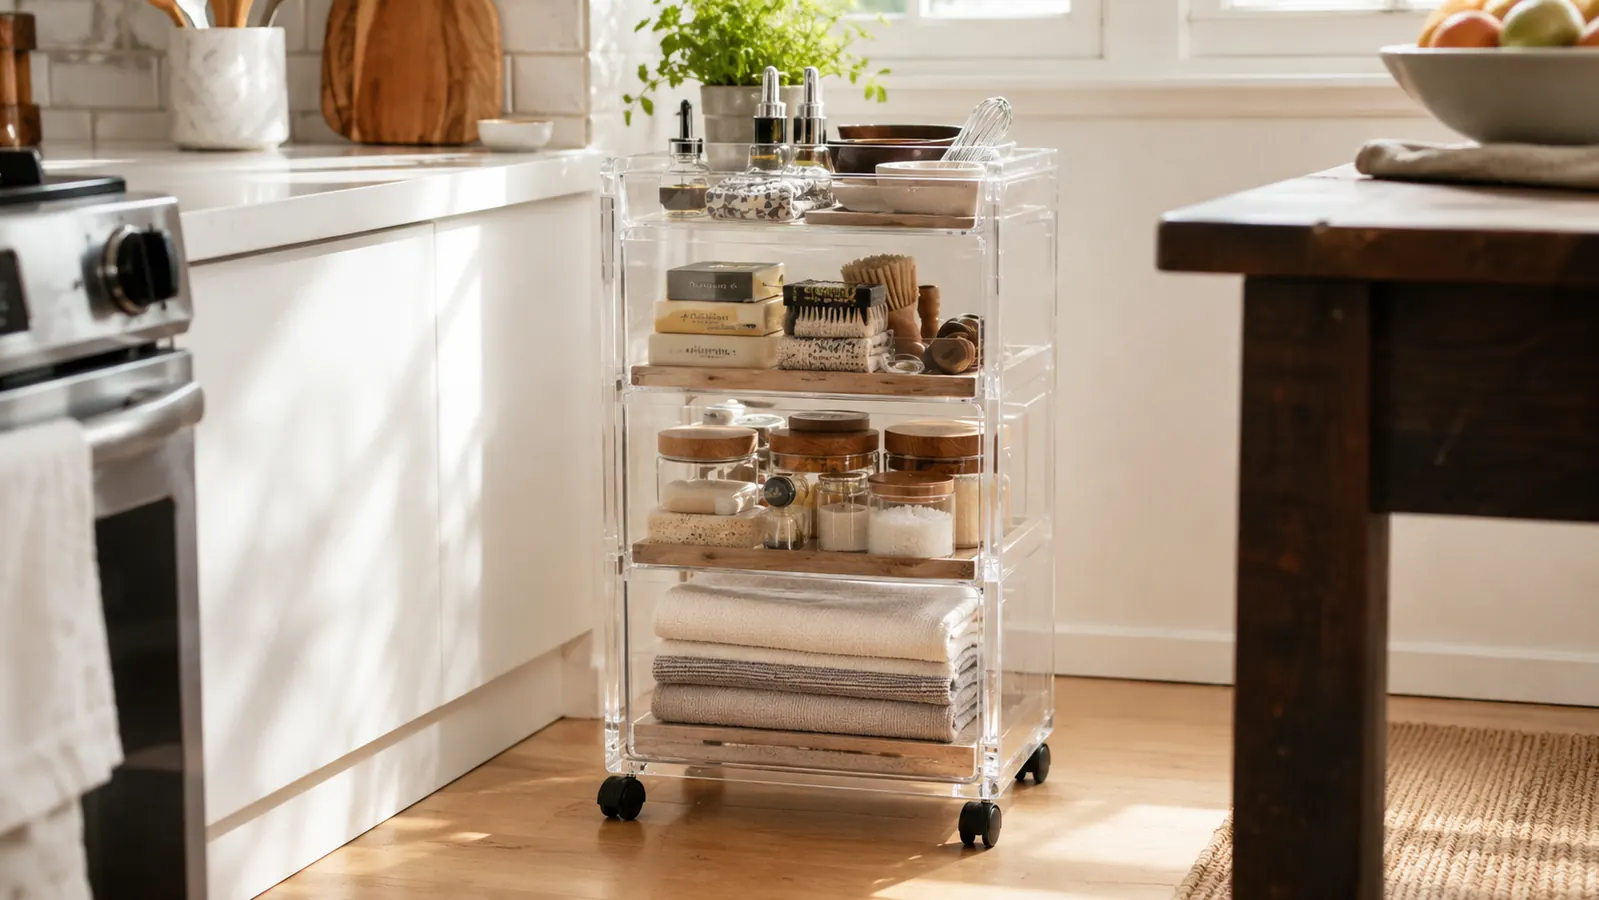
The problem I see most often in the homes I work in is not a lack of storage. It is storage that cannot move. Cabinets stay in the kitchen. Shelves stay in the bedroom. The mess, of course, travels everywhere. After fifteen years of helping families reorganize their spaces, I keep coming back to one solution that punches above its weight: a rolling cart with drawers. One cart can serve a kitchen prep station in the morning, slide into a bathroom corner by afternoon, and park beside a craft table on the weekend. The HOMZ 4-Tier Clear Plastic Drawer Storage Cart is the one I recommend most to clients because the clear drawers eliminate the need to label everything, the locking wheels hold it steady when you need it to stay put, and the four-tier layout gives you enough separation to keep categories from bleeding together. This guide walks through exactly how to deploy that cart room by room using the same five-step system I use in client homes and my own.
Your clutter has no fixed address. Neither should your storage.
The HOMZ 4-Tier Rolling Drawer Cart locks in place when you need it, rolls with you when you don't. Check current availability and today's price on Amazon.
Amazon Check Today's Price on Amazon →Before we get into the room-by-room breakdown, a quick note on setup. The HOMZ cart ships mostly assembled. You will spend about ten minutes snapping the drawer rails into the frame, attaching the wheels, and checking that each drawer glides cleanly. The wheels click into the locked position with a firm press of the toe, and they stay locked reliably. I have never had one unexpectedly roll away on a client's hardwood floor. That said, on thick area rugs the wheels drag slightly, so hard floors or tile are the ideal surfaces. Keep that in mind as you choose where each room deployment will land.
Step 1: Audit the Room Before You Load the Cart
The single biggest mistake I see people make with a new rolling cart is loading it before deciding what problem it is solving. They pile in whatever is nearest, and two weeks later they cannot find anything and the cart feels like another surface to clutter. Resist that impulse. Before you load a single drawer, stand in the room where the cart will live first and ask: what do I reach for five or more times a day that currently has no home within arm's reach? That answer tells you what goes in the top drawer. Everything else sorts into the lower tiers from there.
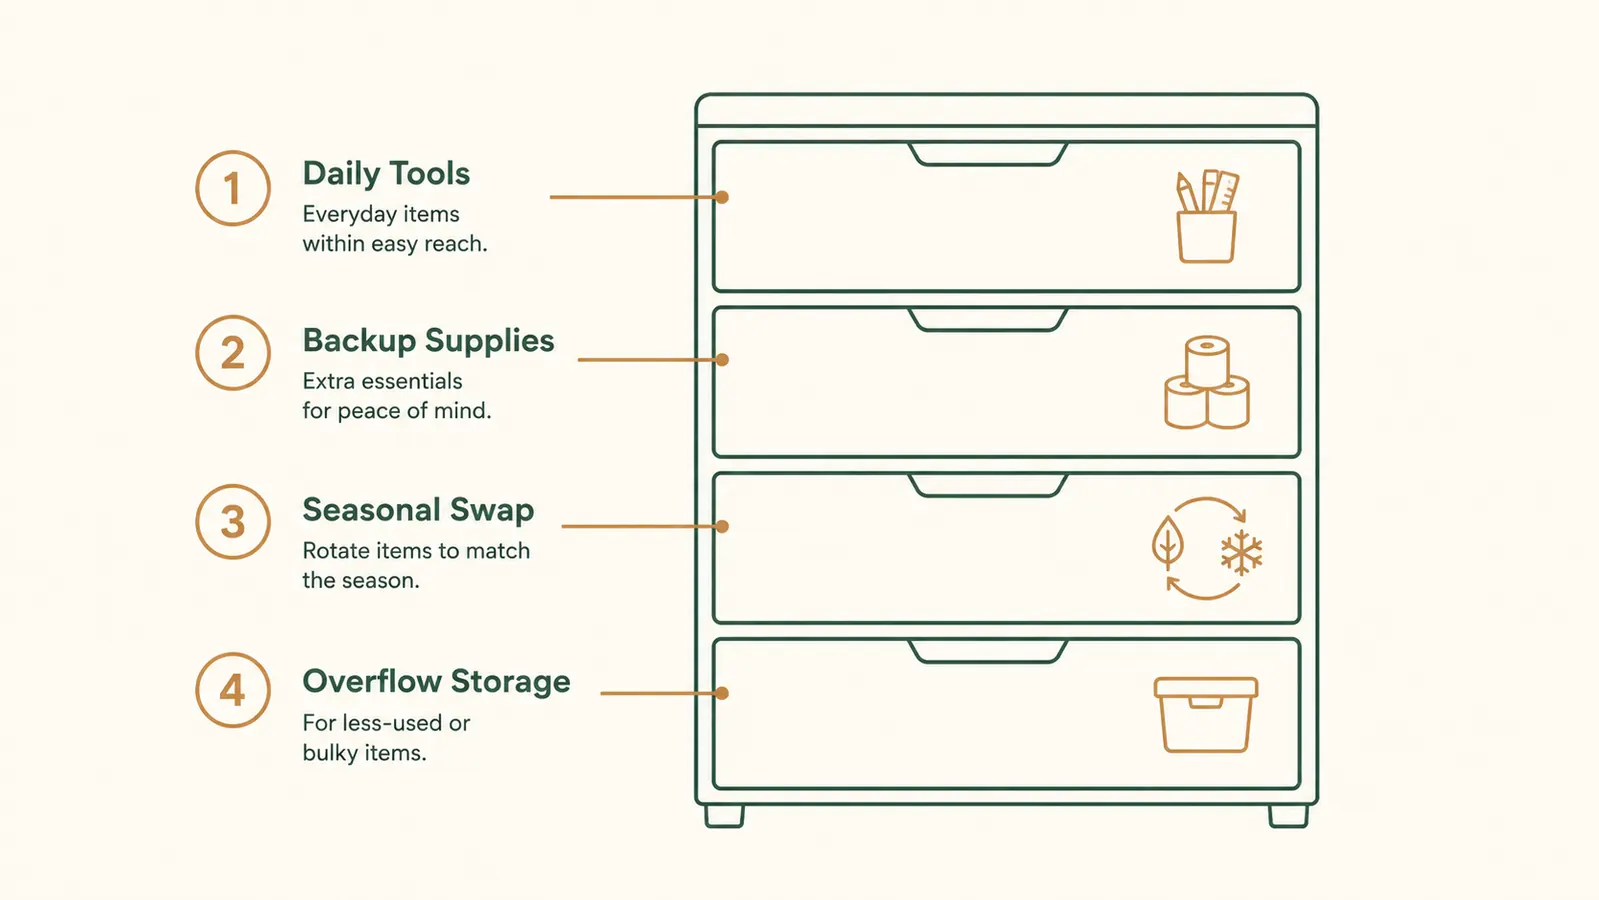
Write the four categories down on paper before you start. Top drawer: daily grab items. Second drawer: weekly supplies. Third drawer: monthly or project-based items. Fourth drawer: backup stock or overflow from the upper three. This four-tier logic works in every room because it maps to frequency, not to category. You are not organizing by type. You are organizing by how often your hand reaches for something. That shift alone removes 80 percent of the friction.
Step 2: Set Up the Cart in the Kitchen
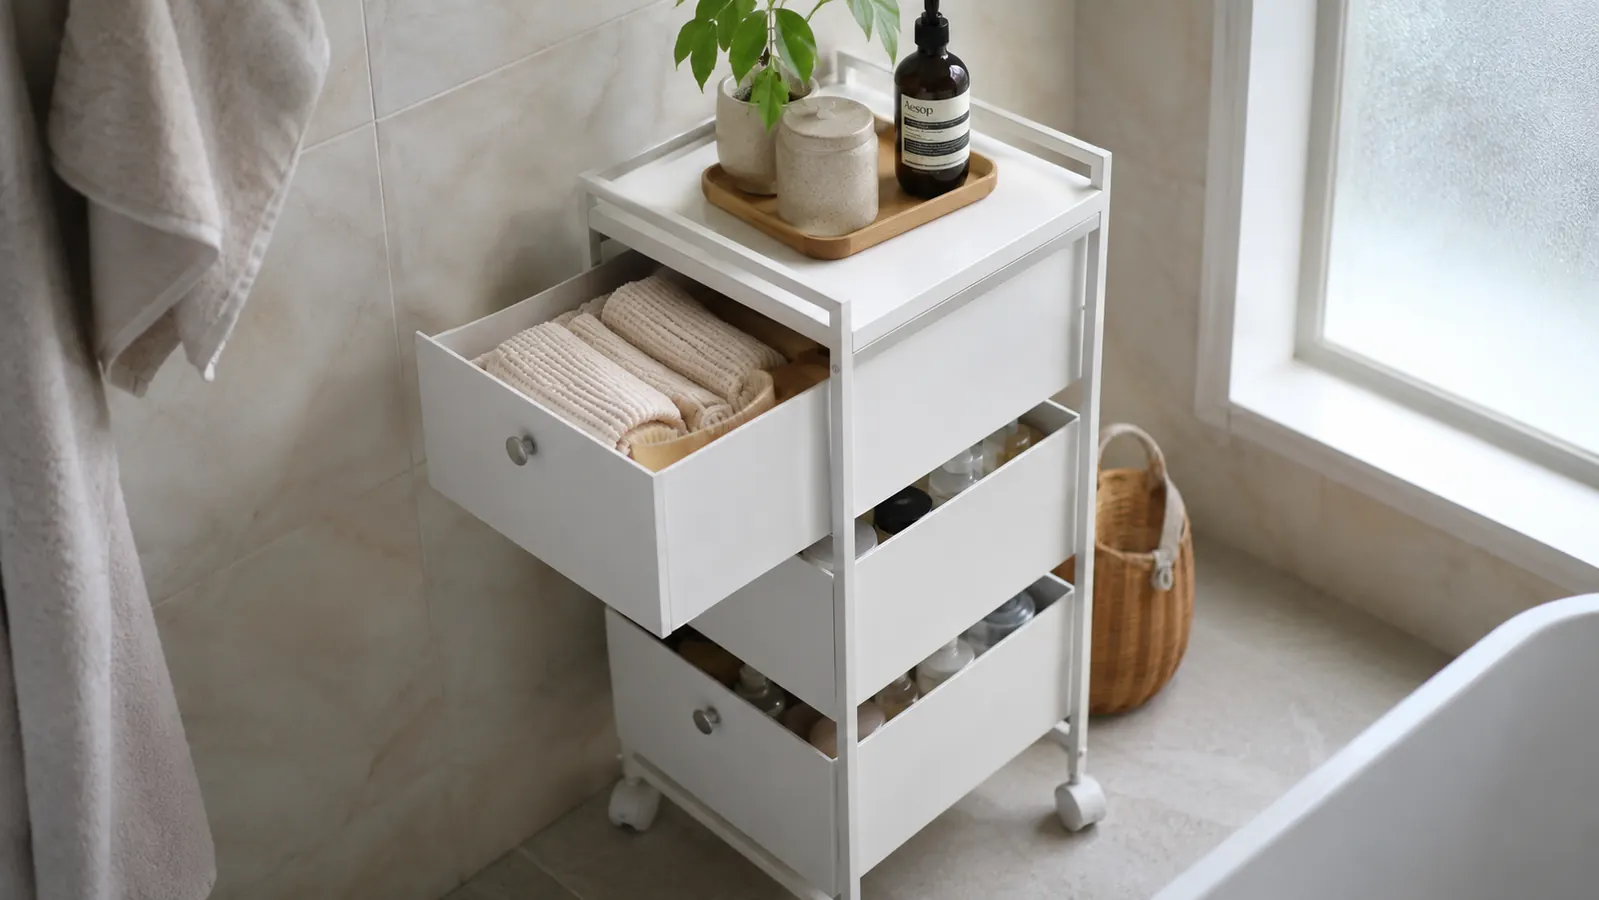
The kitchen is where most rolling carts earn their keep fastest. Counter space is always in short supply, and the areas beside a stove or under a prep counter are often dead zones. I position the HOMZ cart to the right of the stove in most kitchens, locked wheels down. Top drawer holds the things that come out every single day: measuring spoons, a silicone spatula, a thermometer, twist ties, the small tools that always get lost in a drawer. Second drawer holds baking prep: an extra bench scraper, parchment sheets, small ramekins. Third drawer holds specialty tools used a few times a month. Fourth drawer stores backup zip-lock bags, extra aluminum foil, and the overflow that would otherwise crowd a cabinet shelf.
The clear plastic drawers pay for themselves in the kitchen. Because you can see through the front face of each drawer, you do not need to pull all four open to find what you need. I have seen clients with similar carts that had opaque drawers, and they told me they never knew what was in which tier without opening everything. With the HOMZ, a glance tells you whether the baking tier is running low on parchment. That small visibility advantage saves real time over a week.
Step 3: Roll the Cart into the Bathroom for a Week-Long Test
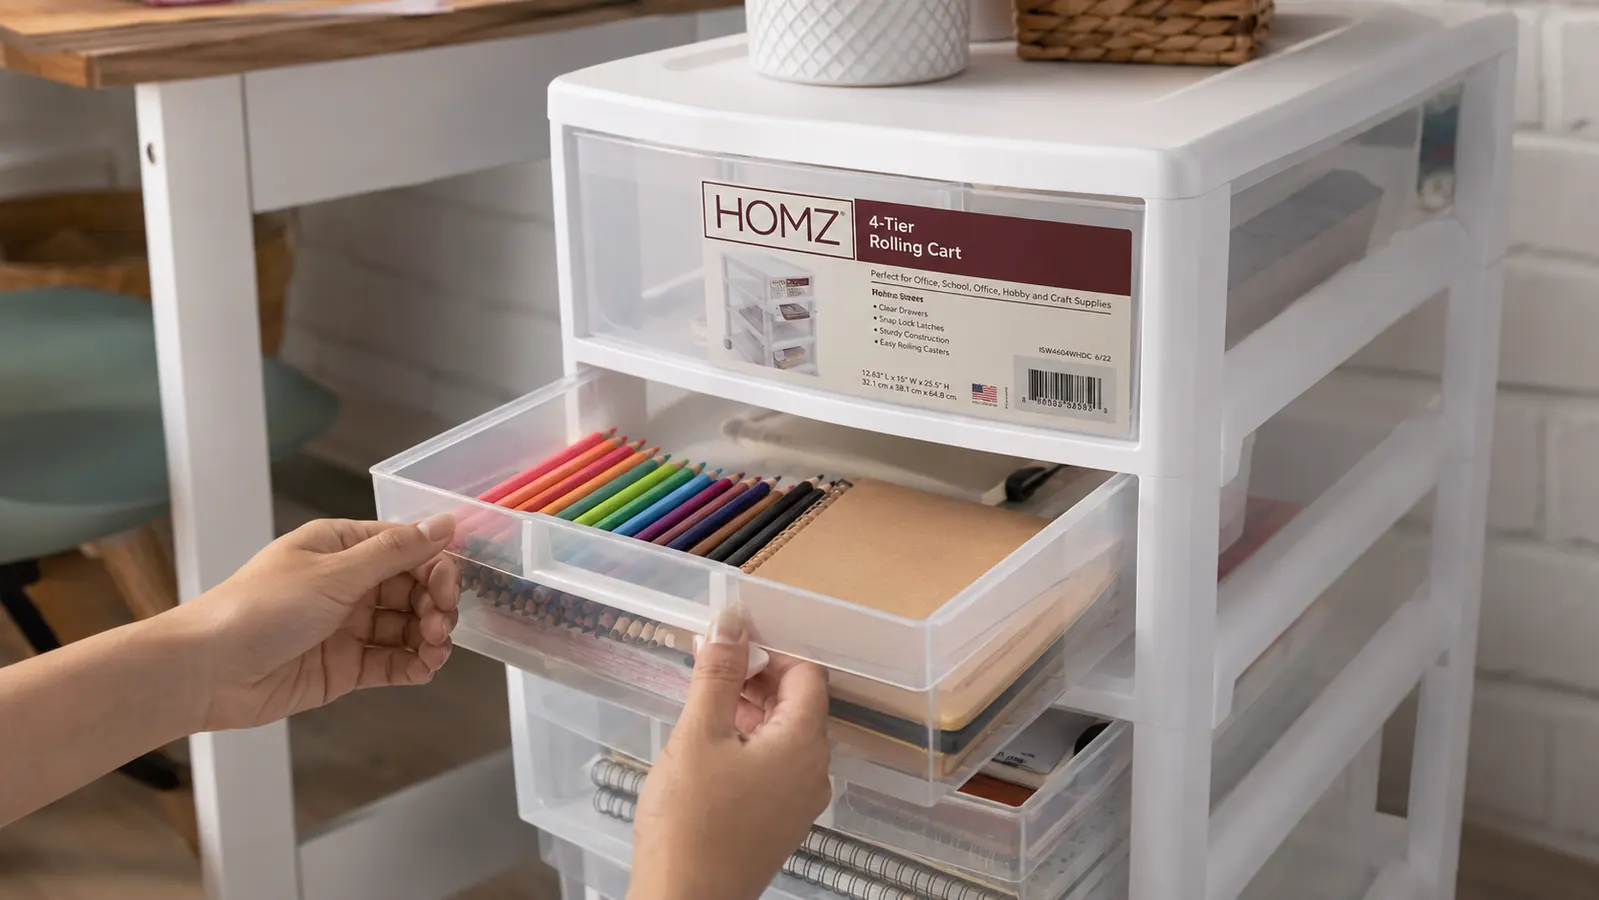
Once you have used the cart in the kitchen for a few weeks and built the habit of returning things to the right drawer, try a one-week bathroom deployment. I recommend this as a test because bathrooms reveal how well the cart handles humidity and tight quarters. The HOMZ frame is plastic, so moisture is not an issue the way it would be with a wooden cart. The footprint is compact enough to fit beside most vanities or in the corner beside a toilet.
For a bathroom setup, the four-tier logic shifts slightly. Top drawer: daily skincare and hair tools used every morning. Second drawer: weekly or occasional products like masks, nail polish, or the first-aid kit. Third drawer: backup items you stock but rarely open, such as extra razors, contact solution, or a spare box of bandages. Fourth drawer: cleaning supplies for the bathroom itself, things like a spare sponge, a cleaning tablet, and paper towels. Keeping the cleaning supplies in the bottom tier means they are out of sight but accessible without moving anything above them.
A cart that stays in one place is just a shelf with wheels. The whole point is that it moves with your day, not against it.
Step 4: Deploy It as a Home Office or Craft Station
The home office and craft room use cases are where I hear the most enthusiasm from clients, and it makes sense. Both spaces involve dozens of small items that have no natural landing zone. Sticky notes, charging cables, colored pencils, scissors, tape, labels, stamps. Without a dedicated spot for each, they spread across the desk and floor over the course of a week.
Position the cart beside your desk or work table within arm's reach. Top drawer: the supplies you touch daily, your main pen, a notepad, your most-used charger. Second drawer: project supplies currently active, things tied to what you are working on this week. Third drawer: reference materials or supplies for the next project in the queue. Fourth drawer: bulk backup supplies, extra printer paper, tape refills, or art supplies you reach for less than monthly. With this setup, you can push your chair back, open the top drawer, grab what you need, and keep your desk surface clear. After six months working this way, one of my clients told me she had stopped losing her phone charger entirely because there was now exactly one place it lived.
Step 5: Label Once, Then Let the Cart Rotate Seasonally
The final step in the system is the one most people skip: a simple labeling pass and a seasonal rotation plan. I use a label maker with a small, clean font on the front lip of each drawer. One word per drawer is enough. "Daily," "Weekly," "Project," "Backup." When the cart moves to a new room, the labels stay the same because the frequency logic is the same regardless of what is inside. You reload the drawers with the right-frequency items for that room, and the cart immediately makes sense to everyone in the household.
Seasonal rotation means that every three months you spend fifteen minutes reassessing which room benefits most from having the cart nearby. In my own home, the cart lives in the kitchen from September through January when we cook most. From February through May it migrates to the craft corner when my family tends to work on projects during the longer evenings. From June through August it parks in the mudroom to hold sunscreen, bug spray, pool gear, and the small items that otherwise scatter across every flat surface near the back door. Fifteen minutes of reassessment every quarter keeps the cart earning its keep year-round rather than gathering dust in a corner.
What Else Helps
A rolling cart works best when the rooms around it are already minimally loaded. If every surface and shelf is already jammed, the cart becomes one more place to pile things rather than a purposeful home for frequently needed items. I recommend clearing at least one shelf or counter zone in the room where the cart will live before you deploy it. This gives you visual breathing room and prevents the cart from becoming a overflow dump. If you want a deeper look at how the HOMZ performs specifically over months of real use, the long-term review covers drawer glide quality, wheel durability, and how the plastic holds up to daily handling: read the full HOMZ drawer cart long-term review. And if you are weighing this cart against the IRIS USA rolling cart that often appears alongside it in search results, the side-by-side comparison breaks down the differences in drawer depth, frame weight, and overall build quality: see the HOMZ vs IRIS USA rolling cart comparison.
One thing I tell every client: the goal of a rolling cart is not perfection. It is a reduction in the daily search time, the frustrated five-minute hunt for the scissors or the phone charger or the backup batteries. If the cart cuts that friction by half, it has paid for itself in a single week. Do not wait until the system is perfectly mapped before you start. Load the cart with your best guess at the four-frequency categories, live with it for a week, and adjust from there. Real organization is always iterative.
Stop buying room-specific storage that stays in one place.
The HOMZ 4-Tier Rolling Drawer Cart earns its keep in the kitchen, the bathroom, the home office, and everywhere in between. See today's price and check availability on Amazon.
Amazon Check Today's Price on Amazon →